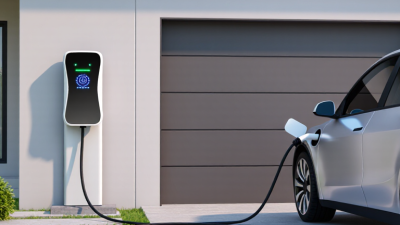

Wall Mounting EV Charge Station
How to Choose a Type 1 EV Charger for Your Needs?
Choosing a Type 1 Ev Charger is not just a matter of matching a plug. Your vehicle’s charging limit, home electrical supply, cable length, and daily driving pattern all affect the right choice. A charger that looks powerful on a product page may not charge your car any faster if the vehicle has a lower onboard limit. Small details matter.
EV charging reviewer Tom Moloughney has emphasized a practical principle: “Choose charging equipment that fits your vehicle and your real charging routine.” Use that idea as a starting point, then verify the charger’s connector, rated output, safety protections, and installation requirements. Check the product documentation and your vehicle manual rather than relying on a retailer’s headline claims. If you park outdoors, weather protection and cable handling deserve attention too.
This guide will help compare portable and home units, charging speeds, cable reach, and useful safety features. It will also explain which specifications affect everyday use and which may be less important for your situation. For example, a driver who parks beside a garage outlet has different needs from someone whose car sits several metres from the power source. The best fit is specific. And not always the most expensive. Be cautious with vague specifications; a neat label does not answer every installation question. Before purchasing, confirm compatibility and ask a qualified installer about your electrical setup. One point can be easy to overlook: the charger is only part of the system.
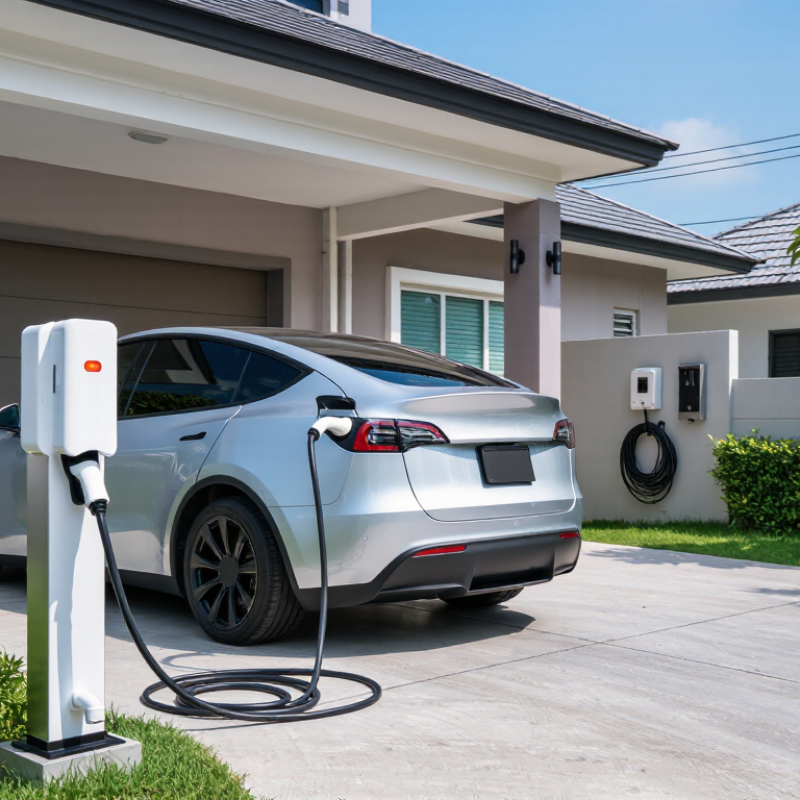
Understanding Type 1 EV Chargers and Their Compatibility
A Type 1 EV charger uses a connector commonly associated with the SAE J1772 standard. It supplies AC power, while the vehicle’s onboard charger converts that power for the battery. Check the inlet first. Your car’s charging port must match the connector, or you need a suitable, properly rated adapter. An adapter cannot make an incompatible charging system work.
Compatibility also depends on more than the plug. Check your vehicle manual for its maximum AC charging rate, then compare it with the charger and your home’s electrical supply. A charger with a higher rated output will not necessarily make your car charge faster. The onboard charger sets a limit. That matters. Type 1 is for AC charging, not DC fast charging, so confirm the charger’s actual output before buying.
Charging equipment may also differ by region, cable setup, and connector-locking design. Read the product specifications carefully, including whether the unit has a tethered cable or requires a separate one. If details are unclear, ask a qualified installer to check your outlet and circuit. It is easy to focus on connector shape and miss the electrical side. That is a common, understandable mistake.
Assessing Your Vehicle, Driving Habits, and Charging Needs
Choosing a Type 1 charger starts with your vehicle’s inlet and your daily routine. Check the owner’s manual for connector compatibility and maximum AC charging rate. In North America, a Type 1 connector is commonly paired with Level 1 charging from a standard 120-volt outlet. The U.S. Department of Energy’s Alternative Fuels Data Center estimates Level 1 charging adds about 2–5 miles of range per hour.
A short commute changes the math.
The Federal Highway Administration’s 2022 National Household Travel Survey reports average daily driving of about 29.8 miles. At Level 1 speeds, replacing that energy could take roughly 6–15 hours, though vehicle efficiency, temperature, and battery condition affect the result. Treat that estimate as a starting point, not a guarantee. If your car often returns home nearly empty, or you need quick turnarounds between trips, a 120-volt setup may not keep pace.
Think through an ordinary week: overnight parking, weekend errands, and the longest trip you make regularly. A car parked beside an accessible outlet for ten hours may recover enough range for modest daily use. A vehicle parked on the street may not. Check the outlet and circuit with a qualified electrician before relying on them for frequent charging. It is easy to focus on charger specs and overlook the walk from your parking spot. That detail matters.
Comparing Charger Power, Cable Length, and Essential Features
How to Choose a Type 1 EV Charger for Your Needs?
A Type 1 connector, also called SAE J1772, carries AC power; your vehicle’s onboard charger sets how much it can actually accept. A higher-rated wall unit may not mean faster charging. The U.S. Department of Energy’s Alternative Fuels Data Center estimates Level 2 charging adds roughly 10–20 miles of range per hour. Treat that as a range, not a promise: vehicle efficiency and charging conditions change the result. Check your car’s maximum AC input before paying for extra power.
Cable length matters most on an ordinary Tuesday. Measure from the planned charger location to the inlet with the car parked, then allow slack for the cable to rest without crossing a walkway. A cable that reaches only when the car is perfectly positioned gets annoying fast. Longer cables add reach, but can be heavier and harder to store.
Look for outdoor-rated construction, temperature protection, clear status indicators, and adjustable current settings. DOE guidance on home charging also emphasizes using suitable electrical equipment and installation; have a qualified electrician verify the circuit. I would still recheck the parking layout after choosing a mounting spot. That part is easy to underestimate.
Checking Installation Requirements and Electrical Safety
Before choosing a Type 1 charger, confirm that your vehicle’s inlet and the charger’s connector match. Then check the home’s supply, panel capacity, and cable route. A garage outlet may look suitable but still share a circuit or sit too far from the parking space. An electrician can assess the panel and identify whether a dedicated circuit is needed. Small details matter.
The U.S. Department of Energy’s Alternative Fuels Data Center reports that Level 2 equipment typically supplies about 2.9–19.2 kW, with charging rates of roughly 10–20 miles per hour, depending on the vehicle. Higher output is not automatically better. The available circuit, local electrical rules, and the vehicle’s onboard charger all limit practical speed. In many installations, EV charging counts as a continuous load, so circuit sizing must account for sustained current. A qualified electrician should confirm the design against applicable requirements, including NFPA 70 where relevant.
Tips: Ask for a load assessment before buying. Check the charger’s current setting, protective features, and cable reach. Keep the plug clear of standing water, and don’t assume an older panel has spare capacity. That assumption is easy to make—and worth checking.
Selecting a Type 1 Charger That Fits Your Budget and Setup
Choosing a Type 1 charger starts with your daily routine, not the highest number on the box. Check your vehicle’s charging-port type and maximum AC charging rate; a faster charger cannot exceed the car’s onboard limit. A Type 1 plug is common on many vehicles in North America, but verify compatibility before buying. Small detail, big headache.
Set a realistic budget that includes more than the charger itself. A portable unit may cost less upfront and work with a suitable outlet, while a permanently installed unit can offer a tidier setup. Ask an electrician to check the circuit, panel capacity, and outlet condition before installation. A new circuit may add considerable cost. That estimate can change after an inspection.
Think about where you park and how you charge. Measure the distance from the outlet to the vehicle, and choose a cable long enough to reach without stretching across a walkway. Look for clear current settings, weather protection suited to your location, and a warranty with understandable terms. Avoid paying extra for charging speeds your car cannot use. I’d still leave room in the budget for installation surprises; planning never catches every detail.
| Charging option | Typical electrical setup | Approx. charging power | Illustrative range added per hour | Best suited for | What to check before choosing |
|---|---|---|---|---|---|
| Level 1 portable charging | 120 V AC; commonly 12 A on a suitable dedicated circuit | About 1.4 kW | About 3–4 miles (5–6 km) | Low daily mileage, overnight charging, or a home without a 240 V supply nearby | Use a properly grounded outlet and follow the vehicle and charger instructions. Avoid extension cords unless specifically approved for the equipment. |
| Level 2, 16 A | 240 V AC; typically requires a circuit sized for the charger and local code | About 3.8 kW | About 10 miles (16 km) | Moderate daily driving and homes with limited spare electrical capacity | Confirm that the vehicle’s onboard charger can accept the power and that the electrical panel has capacity for the installation. |
| Level 2, 24 A | 240 V AC; commonly paired with a 30 A branch circuit when permitted by local requirements | About 5.8 kW | About 15–16 miles (24–26 km) | Drivers who want faster overnight charging without selecting a high-current unit | For continuous charging loads, circuit sizing must follow applicable electrical codes; have a qualified electrician verify the breaker, wiring, and installation. |
| Level 2, 32 A | 240 V AC; commonly paired with a 40 A branch circuit when permitted by local requirements | About 7.7 kW | About 20–21 miles (32–34 km) | Many home users who need a practical balance of charging speed and electrical load | Check the vehicle’s maximum AC charging rate. A higher-rated charger will not make a vehicle charge faster than its onboard charger allows. |
| Level 2, 40 A | 240 V AC; commonly paired with a 50 A branch circuit when permitted by local requirements | About 9.6 kW | About 25–26 miles (40–42 km) | Higher daily mileage, shorter charging windows, or a vehicle that supports a higher AC charging rate | Check panel capacity, cable and breaker requirements, installation cost, and whether the charger can be configured to a lower current if needed. |
| Type 1 connector compatibility | SAE J1772 AC connector, commonly used on many North American AC-charging vehicles | Depends on the charger and vehicle | Depends on charging power and vehicle efficiency | Drivers whose vehicle has a Type 1 / J1772 AC inlet | Verify the vehicle inlet, connector standard, and regional electrical requirements. An adapter may be needed for some vehicle and charger combinations; confirm manufacturer approval. |
| Budget and installation | Costs vary by charger features, wiring distance, panel capacity, permits, and local labor rates | Compare total installed cost, not just charger price | — | Any buyer balancing upfront cost with charging convenience | Get an installation assessment. Consider cable reach, indoor or outdoor rating, warranty, scheduling features, and any required permits. |
| Notes: Range figures are illustrative estimates based on roughly 3 miles (4.8 km) per kWh and typical charging losses; actual results vary with vehicle efficiency, temperature, and charging conditions. Level 2 power is calculated as voltage × current. Electrical circuit examples are common pairings, not a substitute for local code requirements or advice from a qualified electrician. | |||||
Related Posts
-
10 Tips for Buying a Type 1 EV Charger
-
Why Investing in a Type 1 EV Charger is Essential for the 2023 Electric Vehicle Surge
-
Understanding the Benefits of Installing a Type 1 Ev Charger at Home for Eco Friendly Driving
-
Top 10 Type 1 Ev Chargers You Need to Consider for Your Electric Vehicle
-
How to Choose the Best Type 1 EV Charger for Your Electric Vehicle in 2025
-
10 Best Type 1 Ev Chargers for Eco Friendly Driving?